Why Does My OnlyFans Keep Getting Rejected? Common Reasons & Solutions
Nothing’s worse than getting that rejection email when all you want is to set up your OnlyFans. The good news? Most rejections happen for simple reasons—blurry ID photos, expired documents, or typos in your name. Sometimes, it’s a tech glitch, like using the incorrect file format or having a VPN messing things up. The fix? A little attention to detail and the right steps. We’re breaking down exactly why your account keeps getting rejected—and how to get it approved fast. Let’s make sure your next attempt is the one that sticks!
Key Takeaways
Clear photos matter. Blurry or dark images will get you rejected—make sure your ID is well-lit and easy to read.
Your details must match. Even a small typo in your name or using an expired ID can cause issues. Double-check everything before submitting.
Fix and resubmit. Check the rejection email, correct any mistakes, and try again. If needed, reach out to OnlyFans support for help.
The Most Common Reasons OnlyFans Rejects Accounts (And How to Fix Them)
OnlyFans doesn’t reject accounts for fun—it’s usually because of small but fixable mistakes. Here’s what might be stopping you from getting approved and how to fix it fast.
Blurry or Low-Quality Photos
If your ID photo looks like it was taken with a potato, that’s a problem. The OnlyFans verification process requires clear, high-quality images to confirm your identity. Dark lighting, glare, or shaky hands? Instant rejection.
Make sure you take the photo using a mobile device with a good camera. Use natural light or a bright room—no dark corners. Lay your ID on a flat surface (not your lap), and ensure all text is readable with no glare or shadows.
Expired or Invalid IDs
An expired ID won’t work—OnlyFans isn’t letting you in with an old driver’s license from five years ago. Your ID must be valid and up to date or you’ll get rejected.
Before submitting, check that your basic profile details match your ID exactly. If the dates don’t align or your document is outdated, update your ID before reapplying.
Mismatched Personal Information
Even the smallest typo can get your account rejected. If your OnlyFans profile name doesn’t match your ID exactly, they’ll assume something’s off.
Before submitting, double-check that your legal name, birth date, and other basic profile details are accurate. Avoid using nicknames or shortened versions of your name—OnlyFans requires the exact name from your government-issued document.
Fix these simple mistakes, and you’ll be one step closer to getting approved!
Dealing with Verification Errors
Even after fixing the basics, OnlyFans might still throw some errors your way. Don’t panic—these are common issues with easy fixes. Let’s go through them.
“Verification Name Did Not Match Legal Name”
If you see this, it means the name you entered on OnlyFans doesn’t match the name on your ID. Even a tiny typo or missing middle name can trigger this rejection.
Fix it:
Use your full legal name exactly as it appears on your ID.
Check for spelling mistakes, missing middle names, or swapped last names.
If your ID name has changed (like after marriage), use your most current legal document.
“Secondary Form of ID Required”
Sometimes, OnlyFans wants extra proof you’re really you. This happens if your first ID is unclear, looks edited, or if OnlyFans’ system needs extra verification.
Fix it:
Upload a clearer version of your original ID.
Provide a secondary document like a utility bill, bank statement, or another government-issued ID.
Make sure both documents have matching names and details.
“Account Suggested Third-Party Payment Processors”
OnlyFans doesn’t play around when it comes to payments. If they flag your account for using a third-party payment processor, it’s likely because of fraud concerns or mismatched banking details.
Fix it:
Only use bank accounts in your legal name.
Make sure your bank account details match your OnlyFans profile.
If needed, contact your bank to confirm there are no issues.
Solve these errors, and you’ll be one step closer to getting verified hassle-free!
Avoiding Technical Problems That Cause Rejection
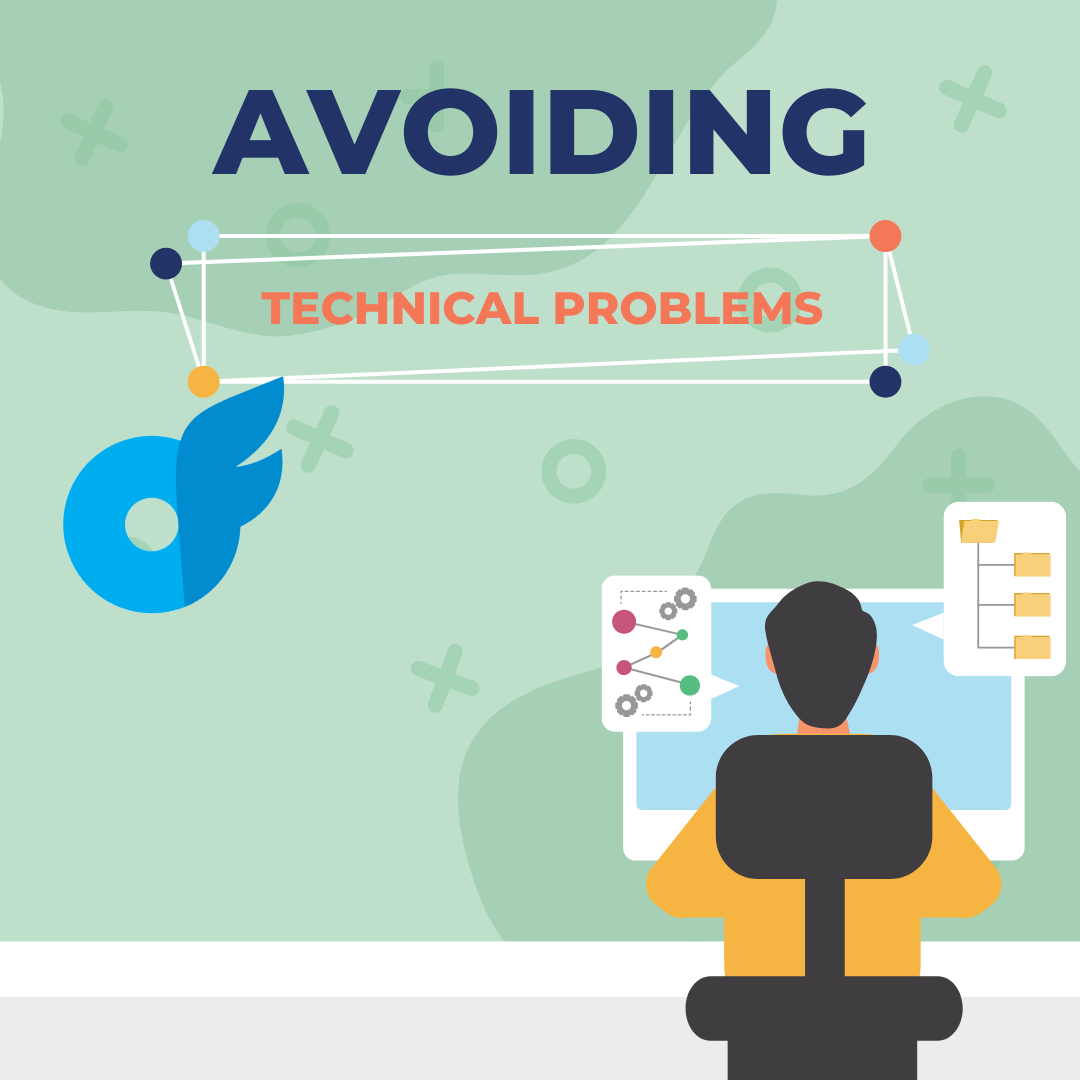
Even if everything else is correct, technical issues can still get in the way. Here’s what to check before submitting your verification.
Wrong File Format
OnlyFans only accepts JPEG, PNG, or PDF files. If your ID is in the wrong format, their system won’t process it. Some phones, like iPhones, save images in HEIC format, which isn’t supported. Before uploading, make sure your file is in the right format. If not, use an online converter to change it. Also, keep the file size under 7MB to prevent errors.
Network Security Blocks (VPNs, Firewalls, etc.)
If you’re using a VPN or a private browser, OnlyFans might see your connection as suspicious and block your submission. Some workplace or public Wi-Fi networks also have restrictions that interfere with verification, causing it to be blocked by network security.
If you're having trouble, turn off your VPN, switch to a different Wi-Fi network, or try using a regular browser on a trusted device. If you believe your verification was blocked by mistake, file a ticket with OnlyFans support for assistance.
These small changes can make a big difference in getting your account verified smoothly.
Making Sure You Follow OnlyFans Terms
Even if your ID is perfect and your details match, breaking OnlyFans’ rules can still get you rejected. Here’s what to keep in mind.
Avoid Prohibited Content Issues
OnlyFans allows adult content but enforces strict guidelines on what is permitted. Certain types of explicit content and other restricted material, such as illegal activities or non-consensual content, are strictly prohibited. If your profile hints at anything that goes against their policies, your account might be rejected. Always read the terms of service to make sure your content follows the rules.
Make Sure Your Profile Reflects Your True Identity
OnlyFans requires that your account details match your real identity. If you’re using a fake name, a nickname, or anything that doesn’t align with your legal ID, that’s a red flag. Also, make sure you’re not using someone else’s photos or documents—that’s an instant rejection.
To stay on the safe side, keep everything accurate, use your real details, and avoid anything that might raise suspicion. Following the rules makes verification faster and keeps your account secure.
How to Resubmit Your Application and Get Approved
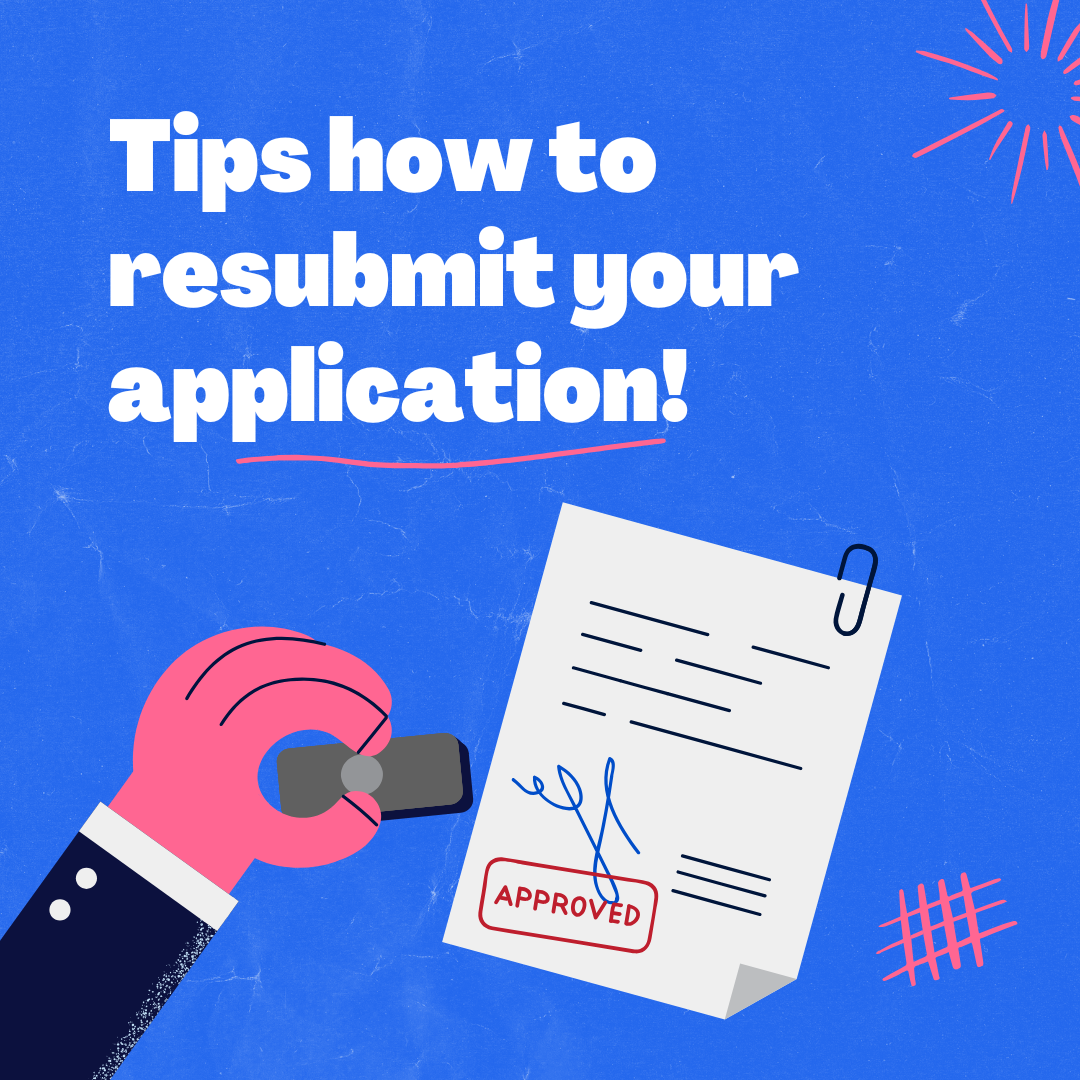
Getting rejected isn’t the end of the road. Most OnlyFans rejections happen for simple, fixable reasons, and resubmitting correctly can get your account approved fast. Follow these steps:
Step 1: Check the Rejection Email: OnlyFans doesn’t just say "no" for no reason—they’ll tell you why your application was rejected. Open the rejection email and look for specific details. It might be a blurry photo, an expired ID, or mismatched personal info.
Step 2: Fix the Issue: Once you know the problem, correct it. If your photo was too dark or blurry, retake it in good lighting. If your ID was expired, use a valid one. If your name didn’t match, make sure everything is spelled exactly as it appears on your ID.
Step 3: Resubmit and Track Your Status: After fixing the issue, go back to OnlyFans and upload the correct documents using the verification link. Double-check everything—make sure your basic profile details match your ID, your photo is clear, and the file format is correct before hitting submit.
Once sent, keep an eye on your email verification for updates. Most approvals happen within 24-48 hours, but if you don’t hear back, check your spam folder or file a ticket with OnlyFans support to follow up.
A small mistake can delay things, but fixing it properly means your next submission is more likely to get approved!
What to Do If Your Account Gets Rejected Again
So you fixed everything, resubmitted, and boom—another rejection. Annoying, right? Don’t stress. Here’s what to do next.
Contact OnlyFans Support
If your account keeps getting rejected and you’re not sure why, it’s time to reach out to OnlyFans support. Go to the Help Center and submit a support ticket. Be clear about your issue and attach any relevant documents. If you keep getting rejected for the same reason, ask them for specific guidance on what needs fixing.
Increase Your Chances of Approval
Before resubmitting again, do a full check of everything:
Make sure your ID is clear, valid, and properly aligned.
Double-check that your name and details match exactly as they appear on your ID.
Avoid using VPNs or restricted networks that might interfere with verification.
If you’ve done everything right but still can’t get approved, OnlyFans support is your best bet. Stay patient, follow their instructions, and your account should go through soon!
Final Thoughts
Getting your OnlyFans account approved might feel like a hassle, but most rejections come down to simple mistakes—blurry photos, expired IDs, or mismatched details. Fixing these issues and following OnlyFans’ guidelines can speed things up. If you keep running into problems, double-check everything and reach out to OnlyFans support for help. Stay patient, follow the steps, and soon enough, you’ll be verified and ready to go. Don’t let a rejection stop you—just tweak what’s needed and try again!
Frequently Asked Questions
Why does OnlyFans keep rejecting my account?
OnlyFans usually rejects accounts because of blurry ID photos, expired documents, or mismatched personal details. Technical issues like wrong file formats or VPN interference can also cause problems. Check your rejection email for the exact reason and fix the issue before resubmitting.
What should I do if my verification name doesn’t match my ID?
Make sure the name on your OnlyFans profile matches exactly with your legal ID. Even small typos or missing middle names can cause rejection. If your legal name has changed, use an updated ID that reflects the change.
Why is OnlyFans asking for a second ID?
If OnlyFans requests a secondary ID, it’s usually because your first document was unclear, cropped, or not enough to verify your identity. Upload a clearer version of your primary ID and provide a secondary document like a utility bill or bank statement with your name and address.
How do I fix a rejected account?
Check your rejection email to find out why it was denied. Fix the issue—whether it’s a better photo, an updated ID, or correcting your details—then resubmit your application through OnlyFans.
Who do I contact for help?
If you’ve tried everything and still can’t get approved, contact OnlyFans support through their Help Center. Submit a ticket explaining your issue and attach any relevant documents.
How does OnlyFans’ Two-Factor Authentication (2FA) work?
OnlyFans allows users to enable Two-Factor Authentication (2FA) for added security. During setup, you’ll need to scan a QR code using an authenticator app like Google Authenticator or Authy to generate login codes. If you’re having trouble logging in, check your app for the latest 6-digit code or reset 2FA through OnlyFans support.